
Arkain Devon Necrojoker Sprite Sets Other Skins Tutorials
| FAQ Getting Started Using MCM Graphical Tricks Blood Helpful Items Download MCMGet Characters WoS Skin Forms WoS Viewer WoS Color Palette Fade Grid 1 Fade Grid 2 |
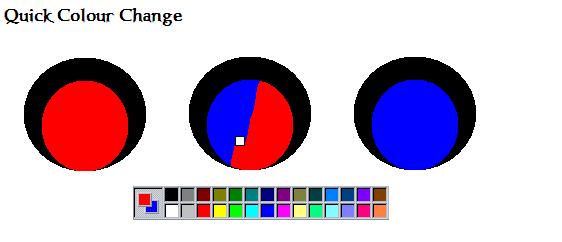
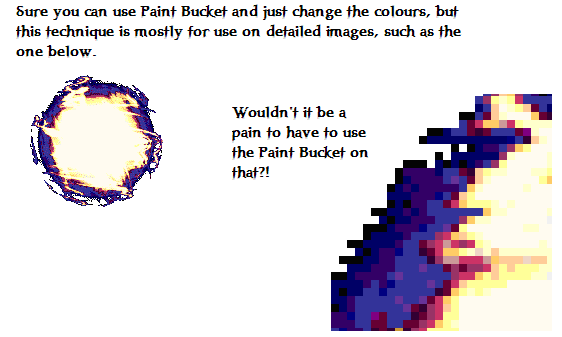
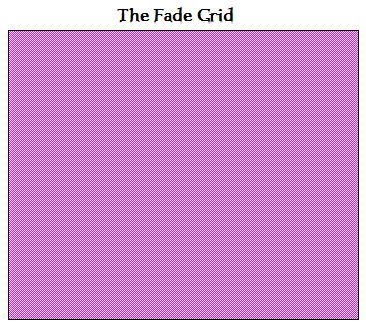
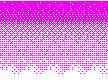
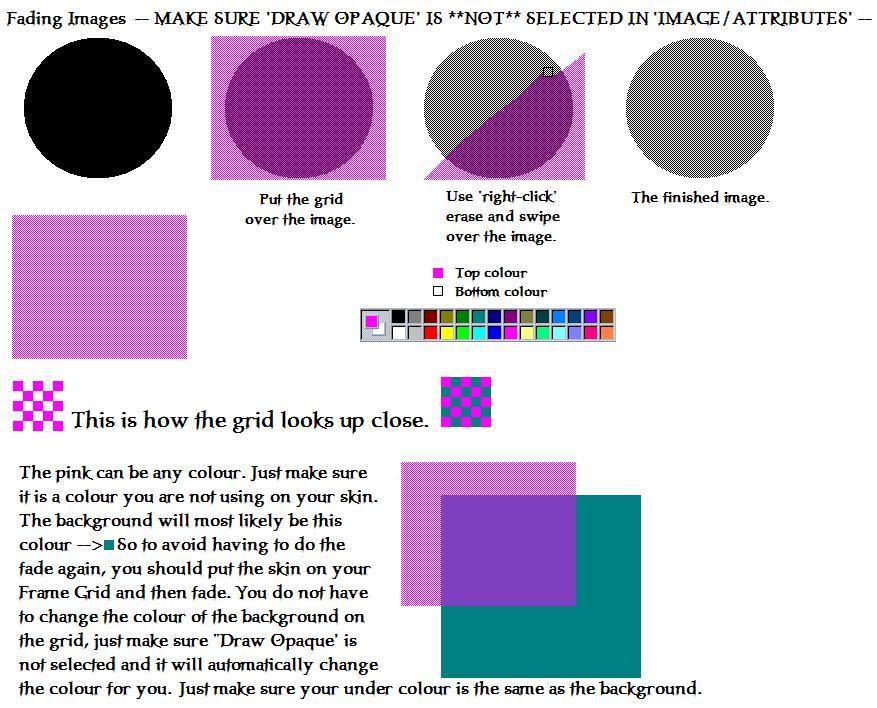
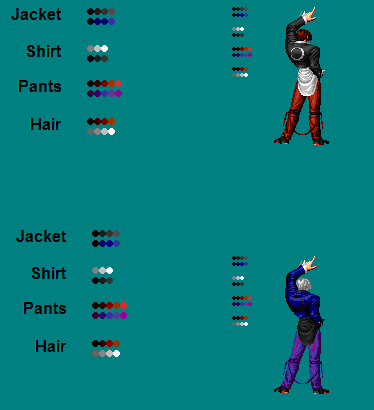
Adding a Magic Frame Open your skin in MS Paint. Go to Image and click on Attributes. Take the height of the skin and add it to the width. Ta-da, you've added a magic frame after the credits. Quick Color Change A quick and easy way to change the colors on a skin. Simply use the 'Eyedropper Tool' and first click on the color you want to change. Then right-click on the color you want to use instead. Then using the 'Eraser', hold right-click, and swipe over the image. The only colors that should have changed are the ones you have selected. Color Change Image Of course for large areas you can just use the 'Paint Bucket', but for those intricate skins, this works the best, as seen to the right. Color Change 2 Image Fading This is a cool effect you can do to make your skin look more mobile. It's also a good way to use a lot of cool effects on your skin, and not make it look so cluttered. It's great to use on the Attack Frame, and if done right, the Magic Frame as well. There are several ways to achieve this effect. The most time consuming one has you using the 'Line Tool' and the 'Shift Key' to make perfect diagonal lines across the image you want to fade. However, the easiest way is to use the Fade Grid I've provided here. Fade Grid Image To get a gradually fading effect, use this Fade Grid. Simply take the grid, add rows if you have a large frame to fade, and place it over the image. Make sure the 'non-pink' color matches your background. (IE: The greenish-blue that is used on most skins.) Now, using the 'Eyedropper Tool', click on the pink used in the grid. Then choose the 'Eyedropper Tool' again, and now right-click on the background. Use the 'Eraser', hold right-click, and swipe over the image. The pink should disappear, and leave behind your image with a grid overlaying it. Fading Image Make sure that if you are using the pink colour on your skin. You change the color of the Fade Grid by using the *Quick Color Change* effect to do this quickly. To avoid having to do the fade again, you should put the skin on your Frame Grid and then fade. You do not have to change the color of the background on the grid, just make sure that your 'under color' is the same as the background. Color Grids Color grids are an easy way to keep track of what colors you are using on your skin. Especially if you are changing all the colours. Simply select a colour and use the 'Paintbrush Tool' to make a stamp of it somewhere off to the side. Then select the color you want to change and do the same, making a stamp directly below the first one. (Leave a little space between the different color grid so you don't get confused.) After copying all the colors, making sure that each grid is a different object (IE: Pants, Hair, Weapon, etc.) use the 'Eyedropper Tool' and first left-click on the color you want to change, making it the top colour. Color Grid Image Then right-click on the new color, making it the bottom color. Use the *Quick Color Change* effect, and you'll be finished in no time. |